Following on from the previous post whereby I explored the regatta grounds, I decided to keep on walking towards the Tasman Bridge. There’s a lovely cycle path that runs along the Derwent all the way up the estuary as far as Claremont for a total of almost 16km, a fine journey indeed.
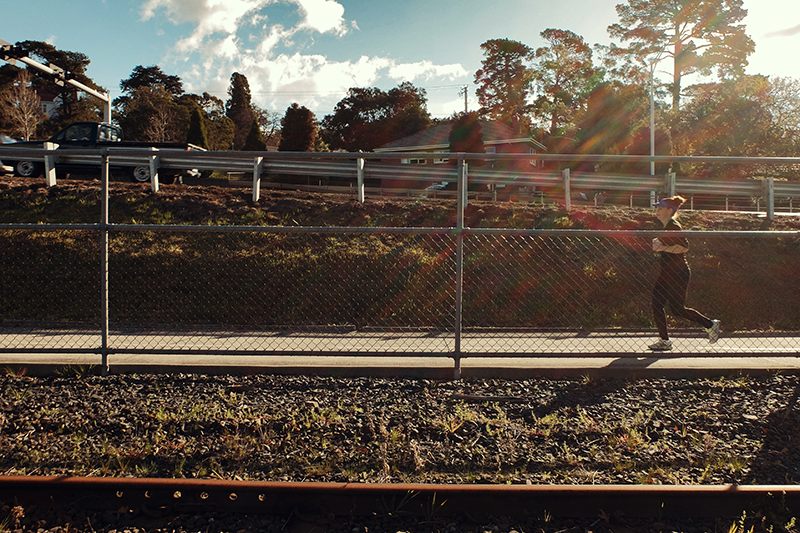
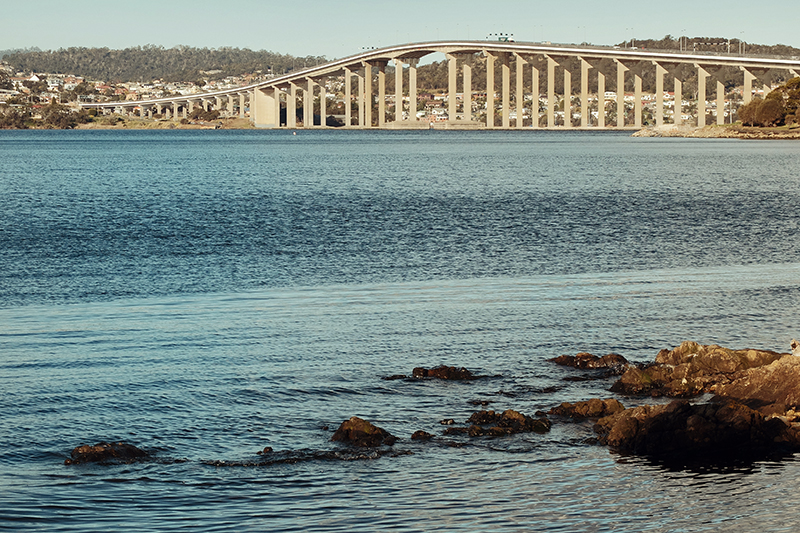
It’s often ill-advised to walk along train tracks but given that this line is largely abandoned, I decided to keep walking along the side of the railway line as far as the bridge. Completed in 1964, the Tasman Bridge is over a kilometer long and connects Hobart’s CBD with the Eastern shore of the Derwent estuary where a number of flourishing smaller towns can be found.
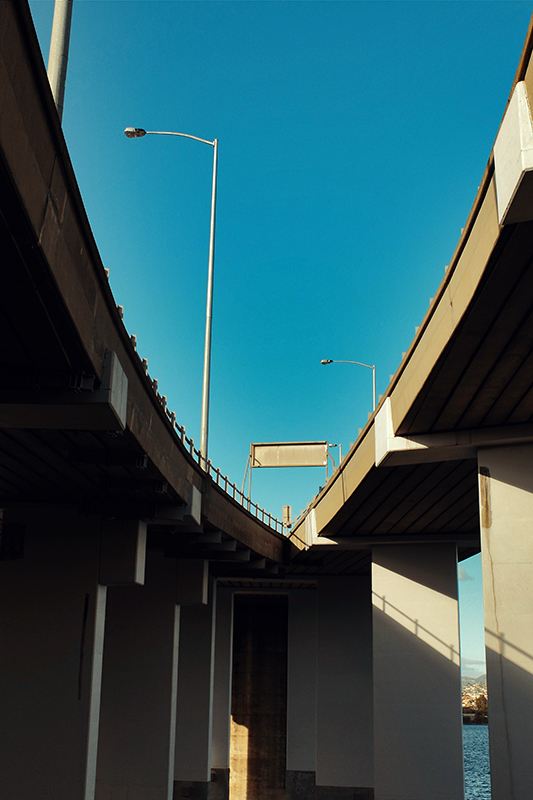
The bridge itself isn’t the prettiest of designs and is unfortunately made infamous by a tragic accident in the mid 1970’s that saw an ore vessel crash into the bridge resulting in a number of deaths on board as well as from vehicles falling into the river following the collapse of a section. It was reopened two years later and has thankfully enjoyed safe operation ever since. There have been calls in recent years for a replacement following reports of structural damage to the structure following the previously mentioned accident.
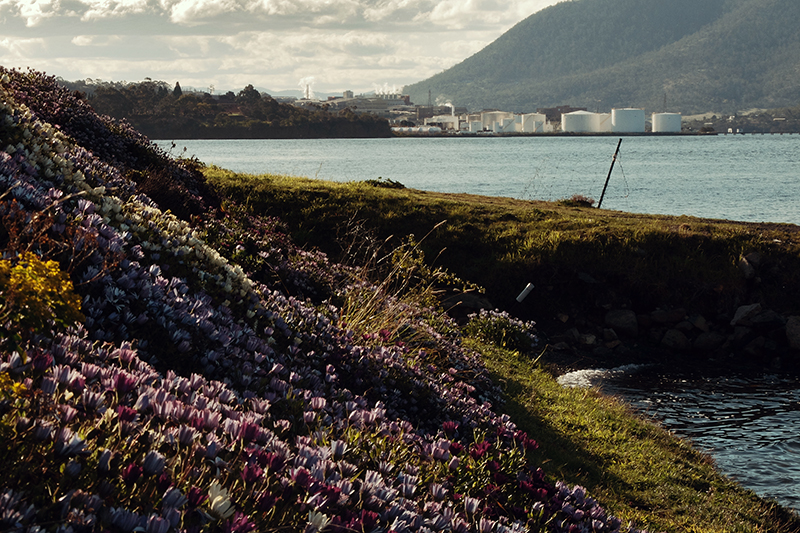
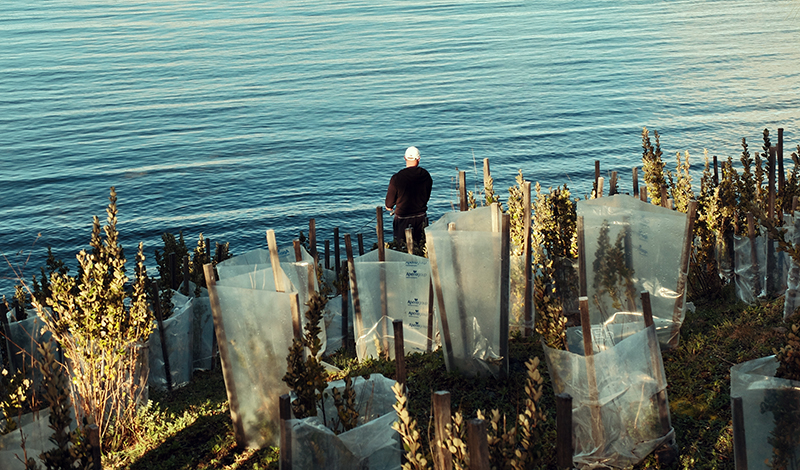
It’s possible to walk right under the bridge and down to the shoreline beneath its large concrete struts. I’m amazed there isn’t more graffiti on this massive canvas but then again Hobart’s graffiti artists seem to be mostly respectful of creating potential eyesores in the city. From the bridge I decided to continue right along the water’s edge before rejoining the cycle path which eventually split into a nice dusty track closer to the river. There’s plenty of nice views across the river to the Eastern shore along the way and the pathway leads to a wonderful little gem which I’ll get to in my next post.